In this tutorial we go over the basics of creating and adding users to your THERMS organization account.
How to Add & Manage Users in THERMS
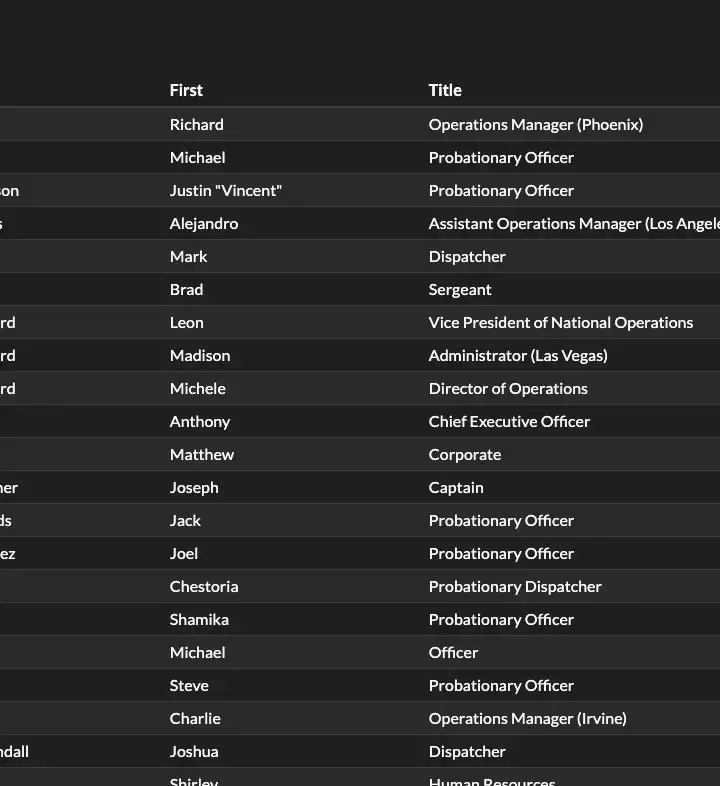
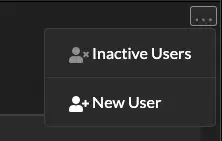
First, navigate to "Roster" from the main menu link. In the top right corner select "New User"
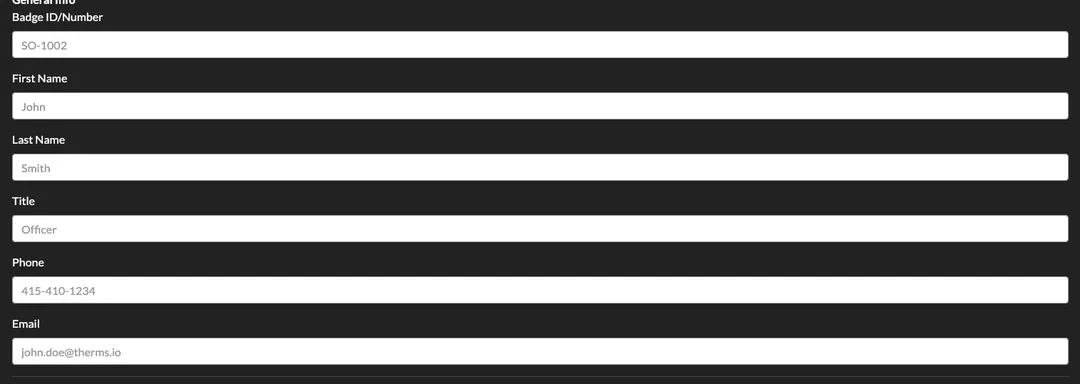
Complete all information for the User. The most important field is the new User's email address because this will be the address the User's login info and password will be sent to once their account has been created.
If you do not know the User's email address, you'll need to retrieve it before creating the User account
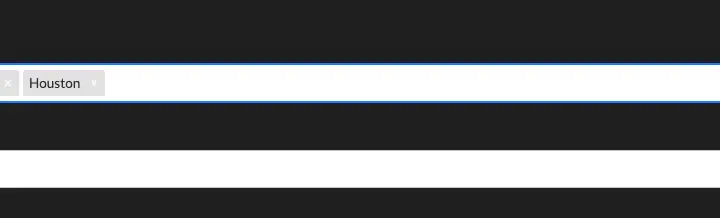
Region Access
If your Organization is mult-region then you will be able to assign the new User's Region access. The Default Region field is the Region the User will see when they first login (can be changed later).
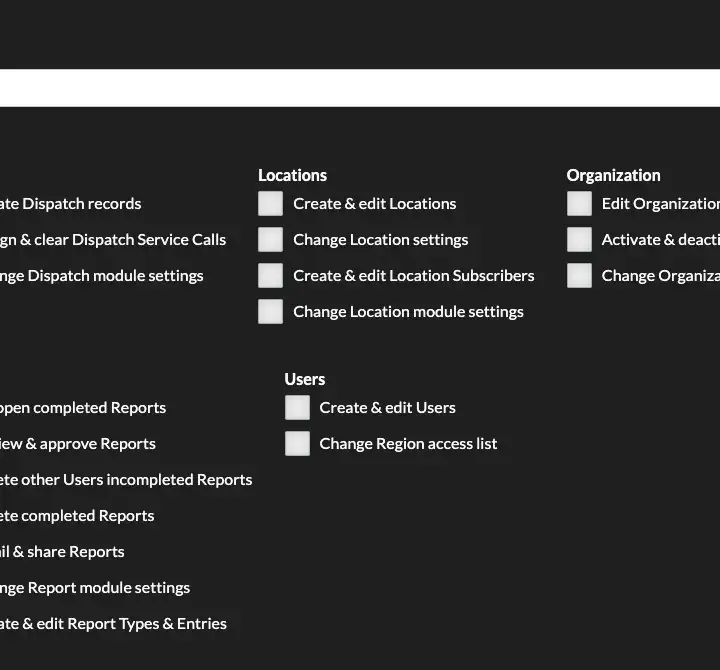
Access Level & Permissions
If a User is marked as "Organization Administrator" they will have all access and permissions to create, delete, edit and view everything in your Organization's account.
The "Access Level" option for a new User dictates what level of content the User can view. For example, if a Location Pass Down is marked as "Supervisor (Level 2)" then only Users who have Level 2 access and higher will be able to see the Pass Down.
Most permissions are self explanatory with some having a help text icon to provide you with a better description of what the permission allows the User to do.
Once you're finished entering all information and configuring the new User's access and permissions, click "Save".
The User will then be emailed their new account information and password with a link for them to login.