- Create a location or go into an existing location's edit setting
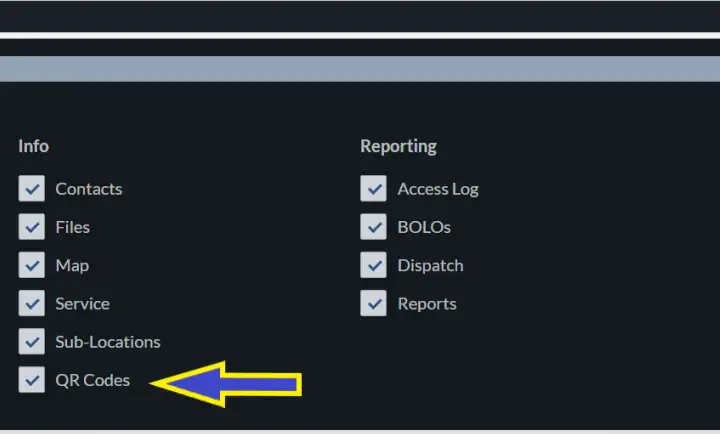
- When setting up a new location, ensure the "QR Codes" Sub-Module is selected. ( This can be done on the web browser or app)
3. Have your NFC tags labeled and ready for upload to the system.
IMPORTANT: THERMS supports nTAG 213 or 215. You can purchase these tags online anywhere that sells them. https://www.amazon.com/s?k=nfc+ntag215
4. Open the THERMS app on a NFC compatible mobile device or tablet ( Not sure if your device is NFC compatible? Check this list to find out if your device is NFC enabled https://nfctagify.com/list-of-all-nfc-enabled-smartphones-and-tablets/ )
5. Open the location you want to add NFC tags to while in the mobile app. You must be in app version of THERMS to add an NFC to a location
Note: You can edit the NFC tag's instruction through the browser once you have created it on a mobile device
6. Open the "Info" tab on the location page
7. Select the "NFC/QR" tab. At the bottom of your device you will see three options; 1) Add NFC 2) Read NFC 3) Scan QR
NOTE: You will only see the option "Add NFC" if you are an organization admin or have been granted permission to add/ edit NFC tags by an admin
8. Select "Add NFC" at the bottom left of your screen
9. Give the tag a name that will make it easily identifiable in reports i.e.; front entrance, back gate, emergency exit floor 1, etc.
TIP: Try to use verbiage that is consistent and identifiable by all users and clients when naming the tag
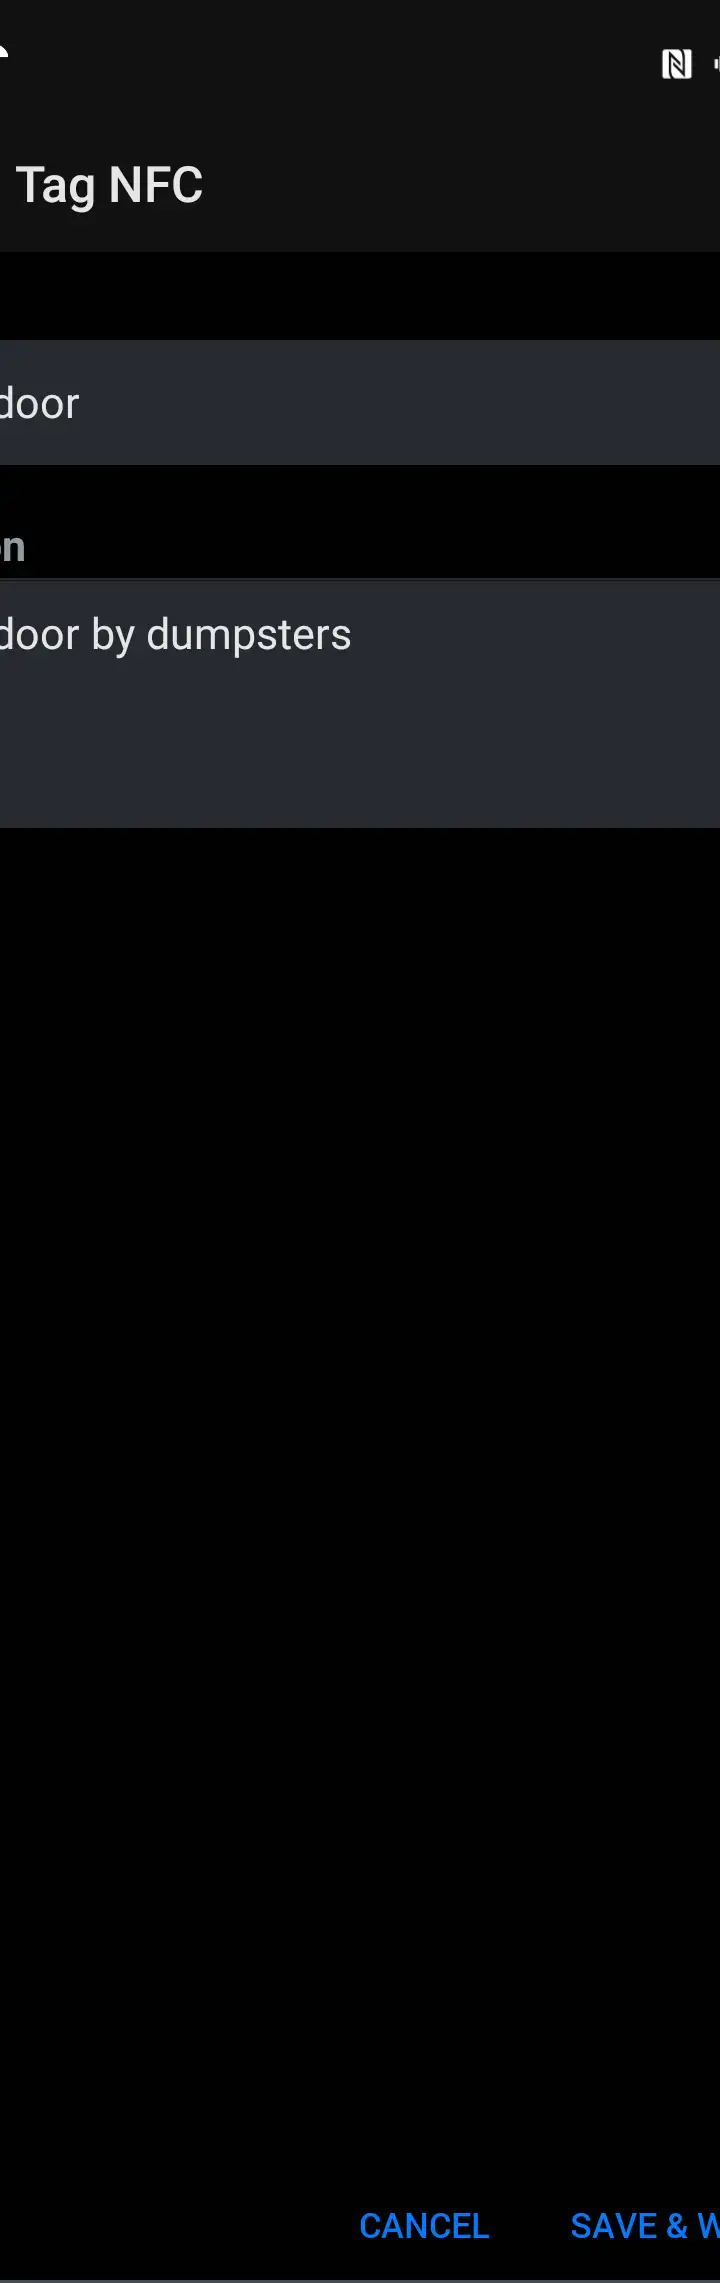
10. In the location field describe where the tag is going to be placed. If a business has entrances on the south and north side of the building, then clearly state which entrance this tag is for. Example: "Entrance with potted plants" "Northside Entrance" "Exit door facing Elm Street" etc.
11. Click "Save & Write Tag"
12. A screen prompt will show up that says, "Hold Device Near NFC Tag".
13. Tap the device to the NFC tag ( some devices will vibrate or alert when a successful scan has been complete)
14. Your scanned tag is now assigned to that location and is ready for placement at the property! This is when pre-labeling your tags comes in handy so you know where to install them on the property without confusion.
Scanning NFC tags for reporting
- Create a report for a location
- When the report is open, there will be an option at the bottom of the screen that says, "NFC"
- Select the NFC button and you will be promoted to hold device near NFC tag
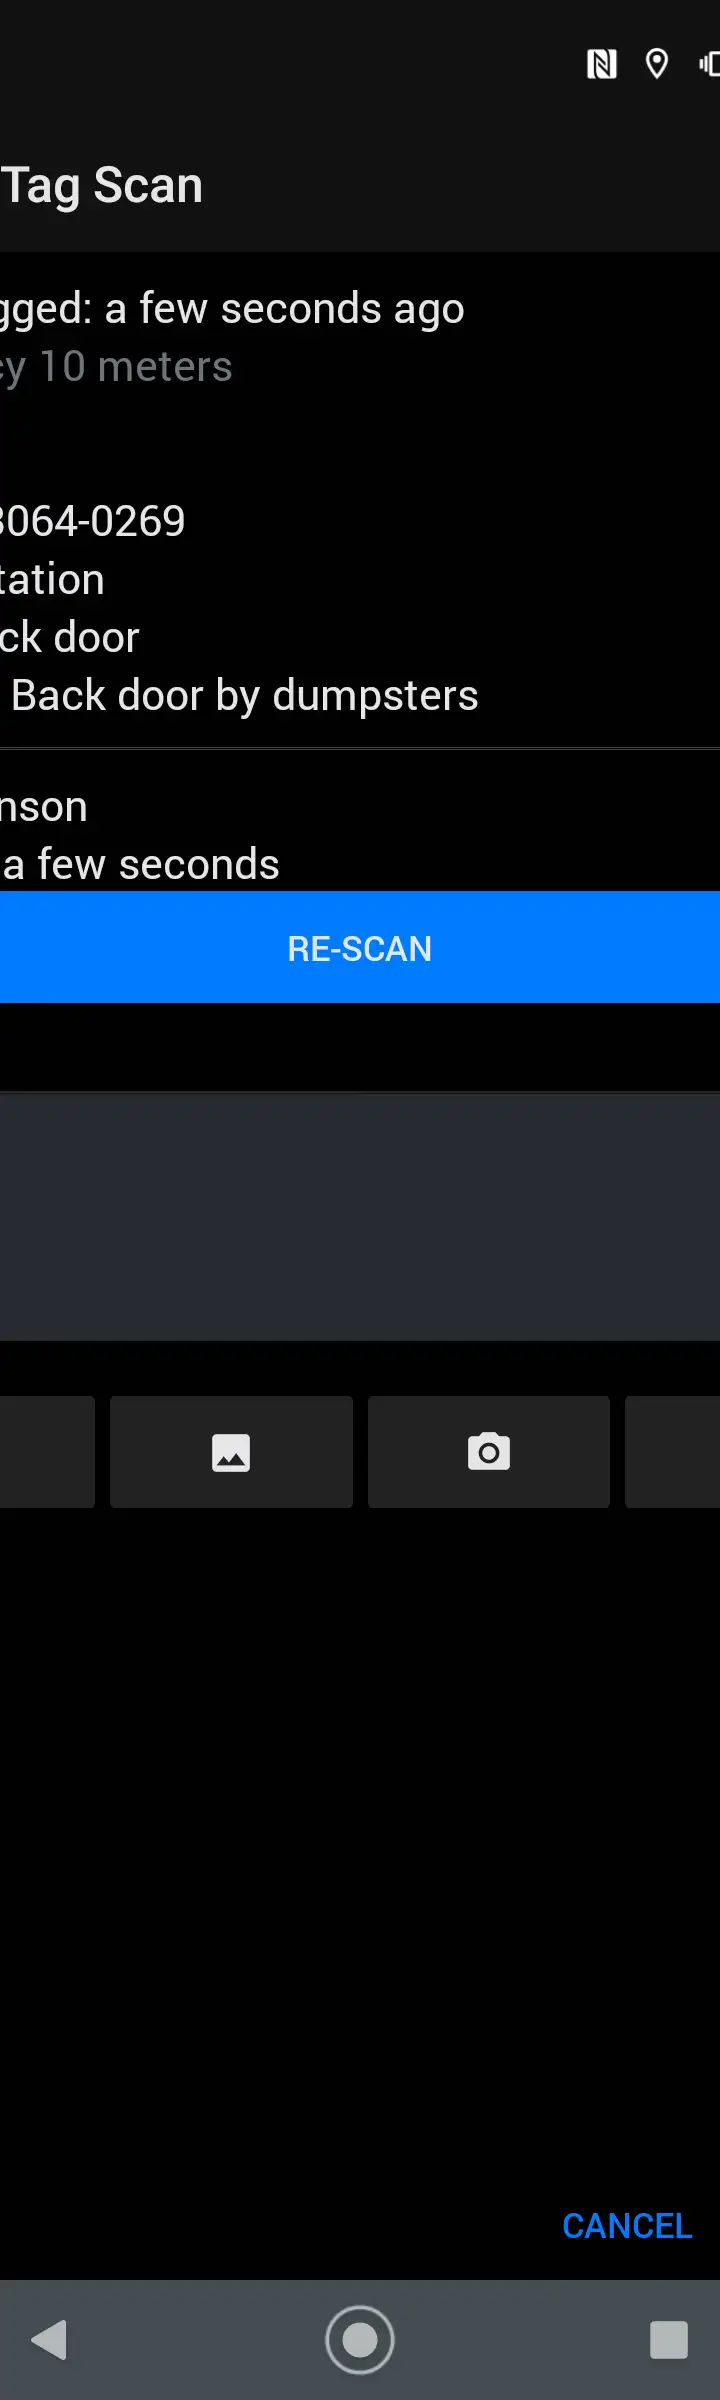
- Scan your desired tag and a scan screen will pop up. In this screen you can add notes, attach an image, video, or file to the scan entry.
- Click "save" in the bottom right.
IMPORTANT: You must click "Save" after scanning a tag for it to be added to your report and saved in your log
Repeat steps 1-5 to continue adding scan entries to your report
Troubleshooting:
NFC Tag Not Scanning or Being Recognized
- Go back to the NFC/QR tab in the location's page
- Select the NFC tag that is giving you problems
- Select the option at the bottom of the page "Write To Tag"
- Re-Scan the tag that is having issues
- Test the tag by scanning it in the report.
- If the tag is still giving you issues and is the only one for that location, consider replacing the tag as it may be faulty
If you are experiencing issues with all of your tags for a given location please contact THERMS support