
In this tutorial we will walk through setting up the Reports module for a new Organization account. This post covers built-in Reports and how they can be used in security operations.
After you register a new Organization account with THERMS you will need to go through a few steps to activate the Report types that your Organization will use.
Before continuing, make sure you have activated the Organization module for Reports in the Admin page. If you see the "Reports" link in the main menu it has already been activated.
Navigate to the Reports module from the main menu. Click the "New Report" button on this page and you will be presented with a pop-up:
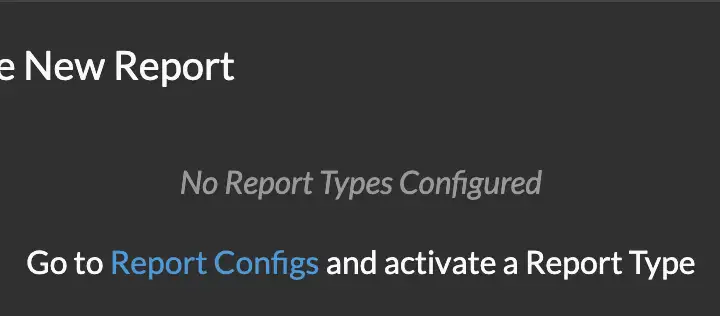
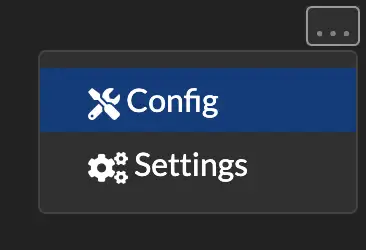
This notification is telling you that there are no activated "Report Types" for your Organization. Follow the link "Report Configs", or, click the dropdown menu in the top right and select "Config".
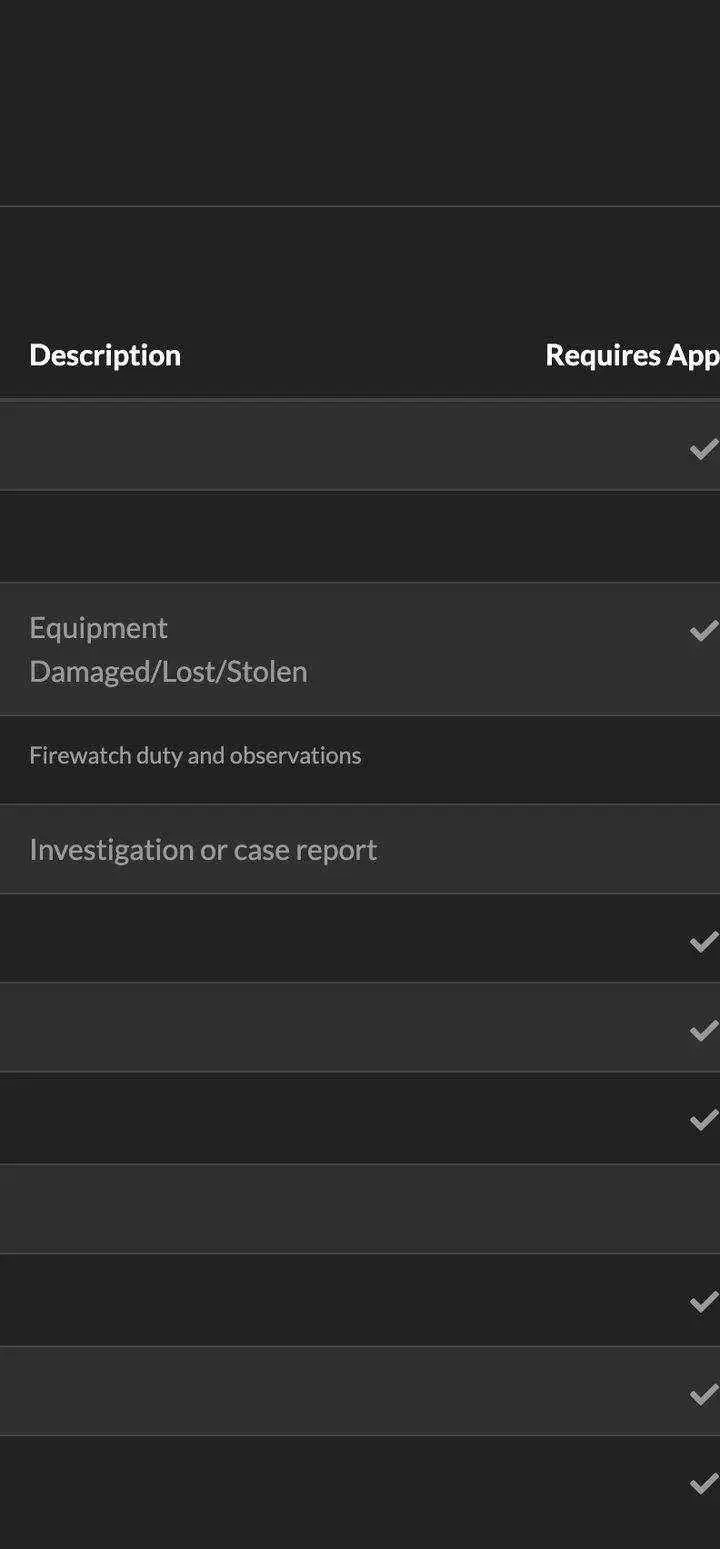
You will now see a list of available built-in Report types. We'll first dive into the "Location" Report type in this list, find "Location" and select it.
The Location Report type screen will display multiple configurable fields. We'll skip over all these fields for now and only select the "Active" toggle at the top of the form:

After you've toggled the Location Report type to be active, scroll to the bottom and click "Save". This has activated the Location Report type - now, head back to the Reports module page by clicking the "Reports" link in the main menu.
Now, you should be on the Reports module page, Click "New Report" again. Since we have activated the Location Report type, we now how the option to select it when creating a new Report. Select the Location Report type in the pop-up:

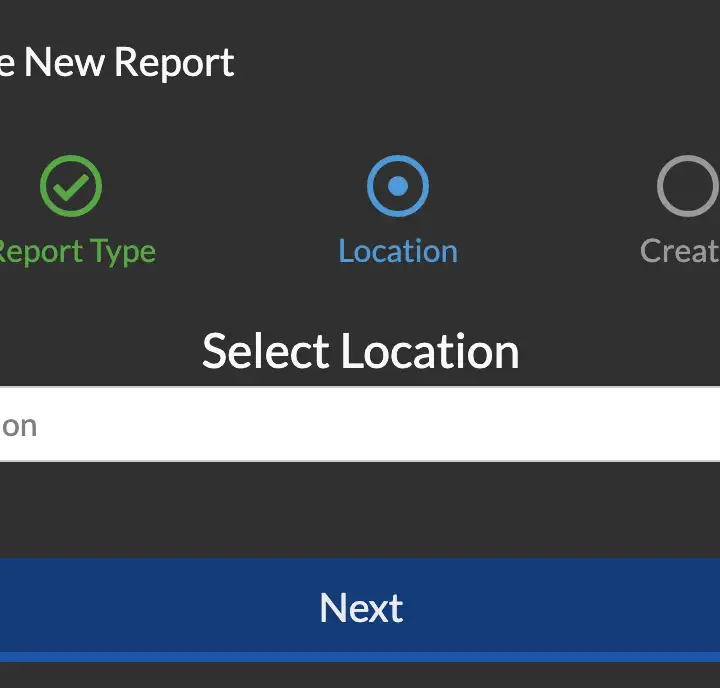
The first field we're prompted for in the next step is to select the actual Location to be assigned to our new Report. If you have previously created Locations then you'll be able to select a Location here, then click "Next":
The last step in this flow will show a summary of the information before you create the new Report:
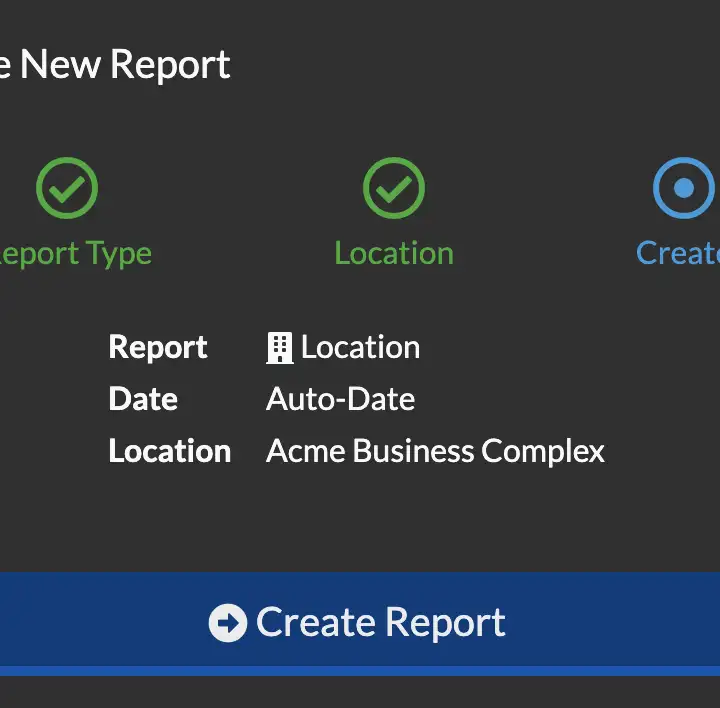
This summary is explaining the Report is a Report type "Location", Date is set to "Auto-Date" which is a config in the Report Types config page for a "Location" Report and the Location is set to the Location you selected in the previous step. Click "Create Report".
After THERMS creates the new Report, you'll be taken to the Report page and see the following:

Notice there is a unique Report "ID" automatically populated along with the other details for this specific report. From here you can add Report Entries then later complete the Report in a normal Report flow/process.
That's it for the Report module basic setup. In this process you have:
- Navigated to the Report Config page
- Activated a built-in Report Type "Location"
- Created a new "Location" Report
Feel free to explore the other built-in Report Types. If you are interested in creating custom Report Types and learning more details, follow this link to Create Custom Reports.
Multi-Region Organizations must follow these steps for each Region in their Organization. Report settings and configs are unique per Region.
Learn How to Use Reports
If you want to learn more about Reports in THERMS and understand the concepts and how to use Reports in your security Organization, head over here THERMS App Reports to get into more details.